
Beer making is an art. Why not familiarize with the whole beer making process. This article focusses on step by step guide of how to brew a beer by choosing the right ingredients
Step by Step process of a Beer Life-Cycle in 1 Minute Video
There are 3 main ingredients in a beer making process (Apart from water)
- Grain (Barley, Wheat, Oat etc.)
- Hop- Flavor ( Bitter, Fruity, Aromatic)
- Yeast (Ale, Lager)
Let’s go into details one by one
CHOOSING THE RIGHT GRAIN FOR YOUR BREW BEER
To understand beer making from scratch, let’s understand malt. It is the process of germination and kilning of grains in a controlled environment thereby offering the best flavor and color to the beer. Grinding the grain break it down into simple sugars that aid beer make process. If raw grain is used , it is unmalted beer and if grain undergoes malt process, it is malted beer.
Grain used has the maximum contribution in how a beer would taste like.
What are the grains that are common in Beer making?
BARLEY
Barley tops the chart as the most used, highly-preferred ingredient in beer. For the demand part, it is the fifth largest cultivated cereal crop in the world. There are 3 types of it 2-row, 4-row and 6-row. 2-row and 6-row barley are suited for beer making and is used in both malted and unmalted beer making.
WHEAT
Beer made with wheat is more on the creamy head side head and is also used in making hazy beer. Caters for both malted and unmalted beer making.
RYE
Popular for craft beer. It adds a spicy flavor to your beer that’s not common with other grains
OATS
high protein, fat and oil content. least preferred choice for beer brewing . used mostly for oatmeal stouts.
CORN AND RICE
Corn is used raw mostly for light beers. Used for American lagers and some Japanese beer. It lightens the color and body of beer without losing the alcohol content. It’s used in a small amount and does not distinctively affect the flavor.
Growing Malted Barley – How To Grow Beer Barley
The first step is the bed preparation. For Barley, the requirement is fine seedbed consisting of loamy soil with a low pH in full sun. It has a strong requirement for phosphorus and potassium, so if need be, amend the soil with rock phosphate and greensand. Hence, do a soil test and check for these elements presence.
Spring is preferred time to start. Dig the plot, prepare soil and sow the seeds (For best result scatter it by hand or seeder). A heuristic rule is one pound (under ½ kilo) of seed for every 500 sq. feet (46 sq. m.). After scattering the seed, rake it into the soil lightly. Most six-row barleys are quite drought tolerant but the same can’t be said for two-row. Keep two-row barley moist. Give special attention that your crop is not impacted by weeds.
Seedling Ready to be harvested
How to Harvest Malted Barley?
90 days after plantation, barley is ready to be harvested. At this juncture, the straw will be golden and dry and it’s kernel would be strong enough to be dented easily. As you cut the grain with garden shears, (Recommended by experts) lay it in bundles with the heads facing the same way and tie them into sheaths. Gather 8-10 of these tied bundles together and stand them up to dry, with most standing up and a few laid across the top. Leave them to dry in the sun for a week or two. Once the grain is dry, it’s time to thresh it, which just means to separate the grain from the straw. There are a number of methods for threshing. Traditionally, a flail was used, but some people use a broom handle, plastic baseball bat or even a garbage can as a threshing machine. However you choose to thresh, the goal is to separate the grain from the awns, husks, and straw.
Now it’s time to malt. This involves cleaning and weighting the grain, and then soaking it overnight. Drain the grain and keep it covered with a damp cloth while it germinates in a dark room with a temp around 50 F. (10 C.). Stir it a few times per day. By the second or third day, white rootlets will form on the blunt end of the grain and the acrospire, or shoot, can be viewed growing underneath the skin of the grain. When the acrospire is as long as the grain, it is fully modified and it’s time to stop its growth. Transfer the grain to a large bowl and keep it covered for a few days; this limits oxygen to the acrospire and stops its growth. Turn the grains once a day. When the grains stop growing, it’s time to kiln them. Small amounts of grain can be kilned, dried in the oven at the lowest setting, in a food dehydrator, or in an oast. A few pounds of grain will dry fully in the oven in 12-14 hours or so. The malt is dry when it weighs the same as it did before you started the steep process.
CHOOSING THE RIGHT HOPS
What are hops in beer?
Hops are the flowers, or cones, of a plant called Humulus lupulus. It helps keep beer fresher, longer; a key component of a beer’s aroma and flavor.
How Hops plantation is done?
Soils which is used for potato can also be used for Hops. It’s highly done in moderately temperate climate.
Sunlight, Water and room for enough vertical is the key for good growth. Ample rain early followed by dry climate is an ideal for the growth
Drip irrigation is the preferred one with 1 gallon of water an hour in the dry time. Established plants need 1.5 inch of water per week with soil PH between 6-7.
When hops are harvested?
It takes 6-8 months from the time of planting (Of course depends on care, environmental facts but largely due to care).
Hops plant harvesting doesn’t take place as soon as the flowers appear, however. Hops harvest season is when the cones have had some time to dry out on the vine, usually August or September.
When you squeeze the cone gently, a sticky liquid will come out. That’s the time for harvesting. If its damp, its not ready yet.
CHOOSING THE RIGHT YEAST FOR BEER
Yeast
Hops do hogs the limelight but there is not an inch of contribution less from Yeast (In-fact much more) to make a beer tasty and healthy.
Yeast is responsible for creating the alcohol and carbon dioxide found in beer.
There are two main categories of beer yeast: ale yeast and lager yeast.
- Ale yeast is top ferment, meaning it rises near the surface of the beer during fermentation, and typically prefers to ferment at temperatures around 70 F (21 C).
- Lager yeasts are bottom ferment. They ferment more slowly and prefer colder temperatures, around 50 F (10 C).
Yeast Characteristics
Now, before we take a look at all the beer yeast strains available to us, by type/function, we also need to understand a couple other important characteristics that may impact your choice of yeast strain.
Attenuation
This is the degree to which the yeast ferments the fermentable sugars in your wort(Sweet liquid). You could measure apparent attenuation from your hydrometer readings, but the ideal level of attenuation is a matter of beer style or personal preference. Some beer styles call for higher or lower levels of attenuation, which is just about how attenuation is categorized:
- High: 78% +
- Medium: 73% to 77%
- Low: less than 72%
Flocculation
The rate of flocculation determines how quickly the beer will clear. High flocculating yeasts sink to the bottom of the fermenter more quickly and produce a clearer beer.
Optimal Fermentation Temperature
As you likely guessed, this is the ideal temperature to ferment your beer at, for your chosen yeast. This one very important characteristic. If the temperature is too low, fermentation may never happen or will happen slow. If it’s too warm, you will lose the taste of the beer.
Flavour Profile
We want an indication of the type of flavours our yeast will contribute to our final product. Yeasts can do so much to transform the flavor of your beer, accentuating it maltiness or hoppiness, or adding fruity, sweet, or dry finishes. Understanding what flavors to expect will help us understand the finished beer.
Step by Step beer making process:
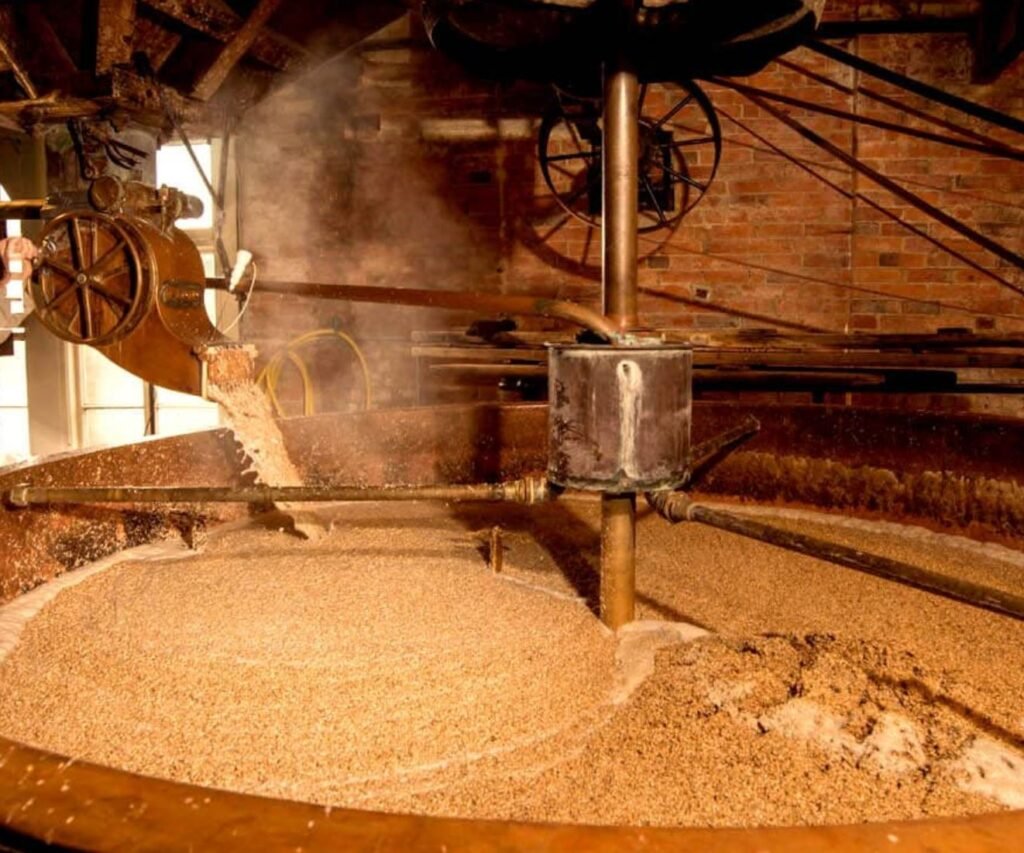
Step 1: Malt are crushed to break up the grain kernels to extract ferment able sugars
Step 2: The solution is then transferred to Mash Turn where it is mixed with heated water. In this course , malt sugars are broken into sugars.
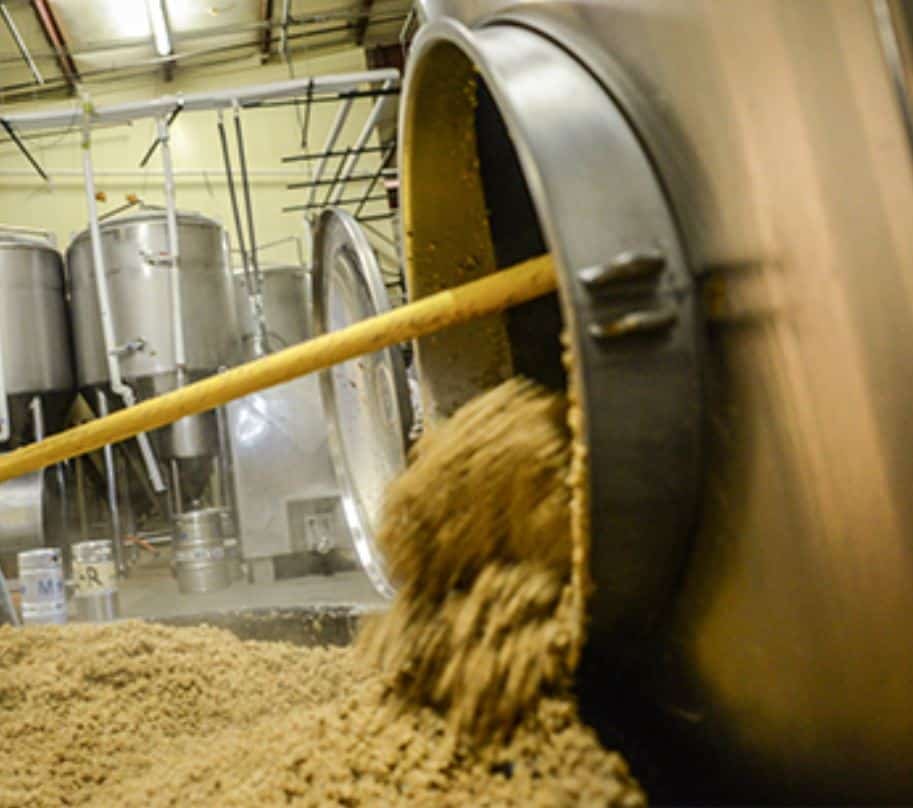
Step 3: Next Sweet liquid(Also called as wort) is separated from grain husks.
Step 4: The Sweet liquid(Wort) is then collected in in separate vessel and then boiled down ( Controlled boil).
Step 5: Hops are added to the solution
Step 6: Solution is transferred to a whirlpool where with constant whirlpool proces, beer is separated from the sweet liquid part.
Step 7: The remain over liquid is cooled and fermented. It is at this time the Yeast is added to add alcohol and carbon dioxide. It is then kept for a good fermentation.
Step 8: After a good fermentation, beer is beer is filtered, carbonated and kept in another (Final) tank, thereby initiating final process called cellaring. It takes a month to complete. Long wait but that’s the final wait, your beer is ready to be packaged.
Conclusion:
Beer Making is an art. A glass of a beer that looks easy to us do have a long story and science in their making. Essential to select the right barley, hops and Yeast. At the same time, step by step guide, temperature control, cooling etc all play a key part in giving the finesse to your loved beer.
Can also refer to https://science.howstuffworks.com/innovation/edible-innovations/beer2.htm for understanding further on this topic.
Do Write to us if you found the information useful and what more do you want us to work on?